Discover why Vitrium’s DRM software is the top choice for businesses needing secure content protection and trusted distribution.
At the content level we've seen how content uploaded to Vitrium Security is instantly encrypted and converted to a Web Viewer format and a Protected PDF Format. Now it's time to add users and set permissions.
By the end of this step, you'll know how to determine who can access your secured content (called Users), and how they are allowed to interact with it.
Once a file has been uploaded, you can apply permissions to the secured file by either:
a) clicking on the permission icon![]() , or
, or
b) clicking on the file name, then clicking on the 'Permissions' tab.
From here, we are taken to the list of users that have access to this content. Since this is your first time doing this, it will be empty, but not for long! Click on ![]() to add a new user.
to add a new user.
As you'll see, your Vitrium Security account doesn't yet have any users. Click on the plus sign ![]() to add a new user to your Vitrium account.
to add a new user to your Vitrium account.
Fill out the information for your new user. We suggest using their email as a Username.
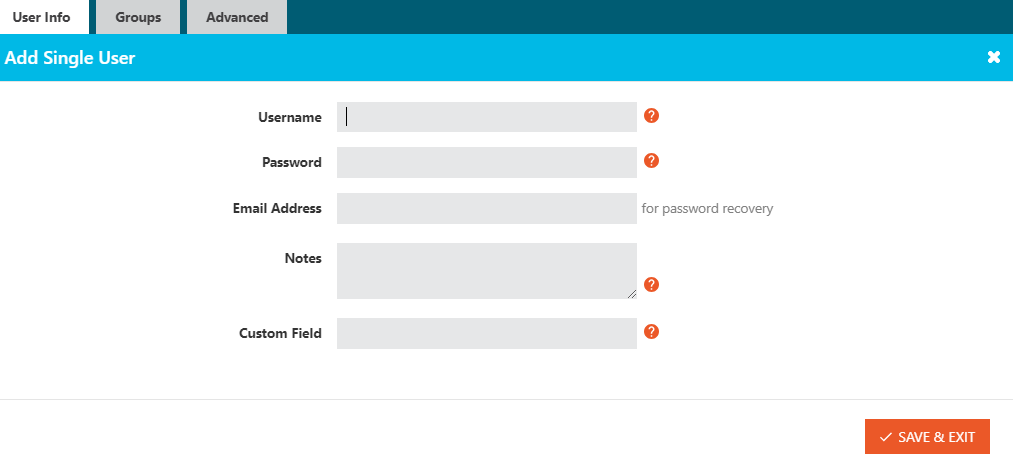
Remember, in this version of Vitrium Security (without Integration) you will have to send your users their login credentials. They will need this information to access the content.
You can also manage the user's Digital Rights parameters here, such as setting an Expiration Date and Expiration after first unlock for the content, allowing Offline Access, and limiting the number of Browsers they can access the content in (important if you don't want them to share the link). We usually recommend setting the browser limit to two, so they can access it on their desktop and mobile device.
As a side note, you can also add users using the  tab in the main menu. Through the Users tab you can upload multiple users at once or import a CSV file with your entire user database. Users added through this method, will automatically populate when you click on a particular content's 'Permissions' tab or icon.