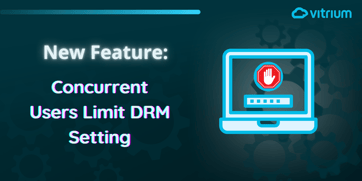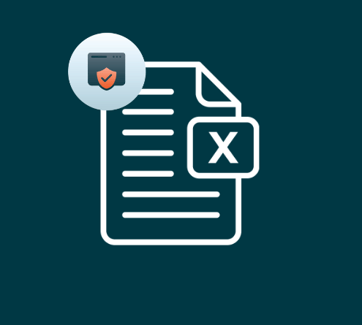
Vitriun enables its users to protect Excel files with DRM software. Explore this article to learn the different ways Excel files can be protected & shared with DRM.
Lets get started! When you login to your Vitrium Security account, it brings you to your Dashboard. This is the command center for your content security tasks. The first thing that we will look at is how to upload a video, document, and image to begin securing your content for safe distribution.
The Content Tab is where you will upload and manage your files and folders. It's also where you can apply permissions to the content and access one of two secured content outputs: the secured PDF file or the secured web link. Here, you can also de-activate or revoke a file and view a report on the user activity.
Go to the Content Tab, and click 
Upload Content: click 'Browse' to select the file from your computer or network drive, or drag and drop the file in the indicated area.
Vitrium Security currently supports these formats for file uploads:
| .mp4 | .mov | .mkv | .avi | .flv |
| .doc or .docx | .xls or .xlsx | .ppt or .pptx | .txt | |
| .rtf | .odt | .ods | .odp | .odg |
| .jpg | .png | .gif (static image only) | .bmp | .tif |
 Content Setting: here is where you get to control how your audience will interact with your content. The default setting for your Vitrium Security account restricts printing and copying, and automatically generates a watermark with the name of the person accessing your content (their User Name).
If you would like to change the Content Settings for this particular file, simply click on the ![]() and switch the settings to allow printing and/or copying, or to change the watermark. There are a lot of options to updating the dynamic watermark, including adding multiple user data items and colors. Note that when you create and name this new Content Setting, it becomes available for all files that you upload to your Vitrium Account.
and switch the settings to allow printing and/or copying, or to change the watermark. There are a lot of options to updating the dynamic watermark, including adding multiple user data items and colors. Note that when you create and name this new Content Setting, it becomes available for all files that you upload to your Vitrium Account.
Tags: add any tags (or keywords) that are appropriate for the file. These tags will help users receiving the content search for related files when you deploy a Secure Client Portal.
Click Save & Exit.
*Important Note: during the upload process the security layers are being added to the content, along with the Content Settings for the file. You will NOT be able to unlock the secured file until you have applied user permissions and a DRM policy setting, which are covered in the steps below.